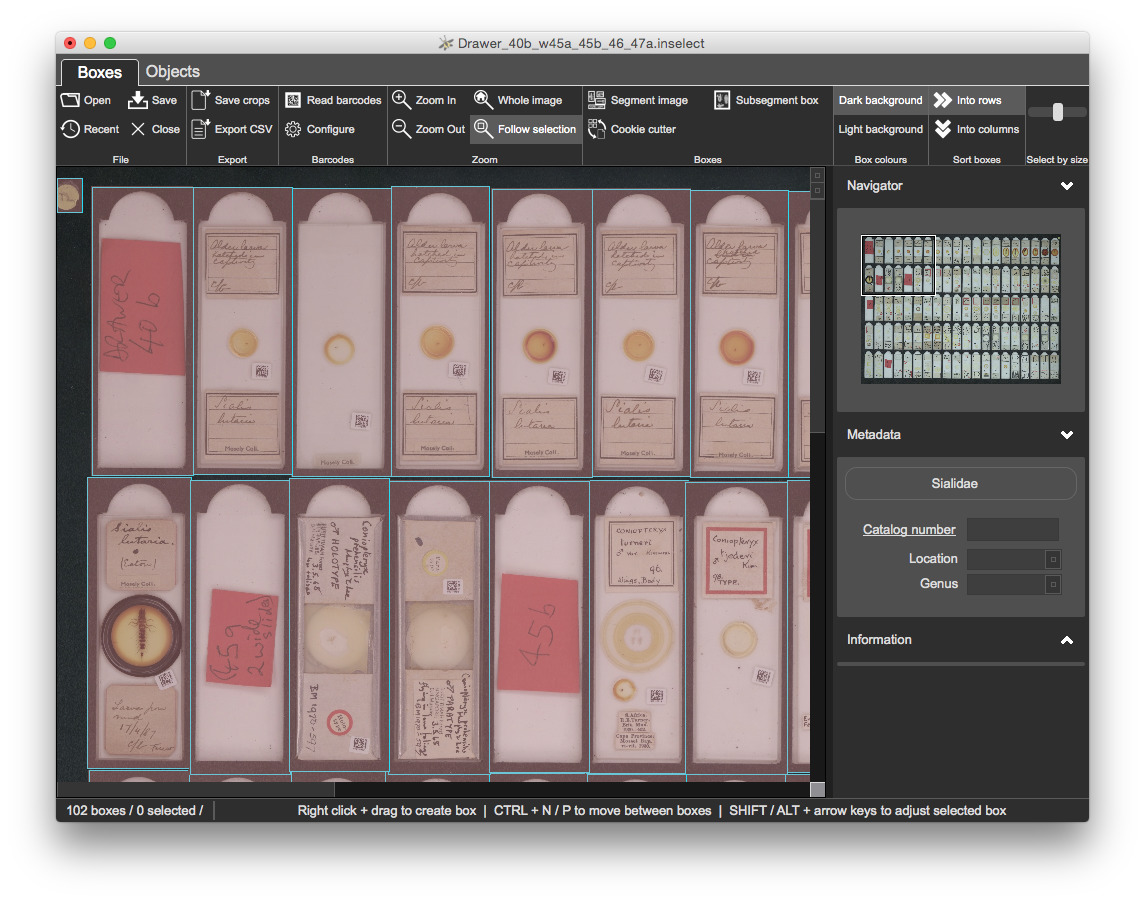
This example uses an image of microscope slides arranged in a template. Each of the slides contains a DataMatrix barcode.
Objective: to read barcodes on microscope slides, rotate each slide to be in the correct orientation and to export cropped images.
This example will cover
- barcode reading,
- the
Objectsview, - rotating objects and
- sorting boxes into rows and columns.
Preamble
-
Open
Templates/sialidae.inselect_template- Specifies a higher-resolution thumbnail than used in previous examples - useful for reading and transcribing labels on slides
- Exported crops are saved to
TIFFfiles - More complex metadata validation
-
Load
4.Barcodes/Drawer_40b_w45a_45b_46_47a.inselect -
Select 'Light background' in the 'Box colours' section of the toolbar
- This alters the colours of the bounding boxes
- We hope to automate this in a future release
-
Segment
Refine
There are 100 sockets but automatic segmentation has created 102 boxes. The two extra boxes are around small stickers at the top left and top right of the image. Some of the sockets do not contain slides but contain red markers that indicate the location:
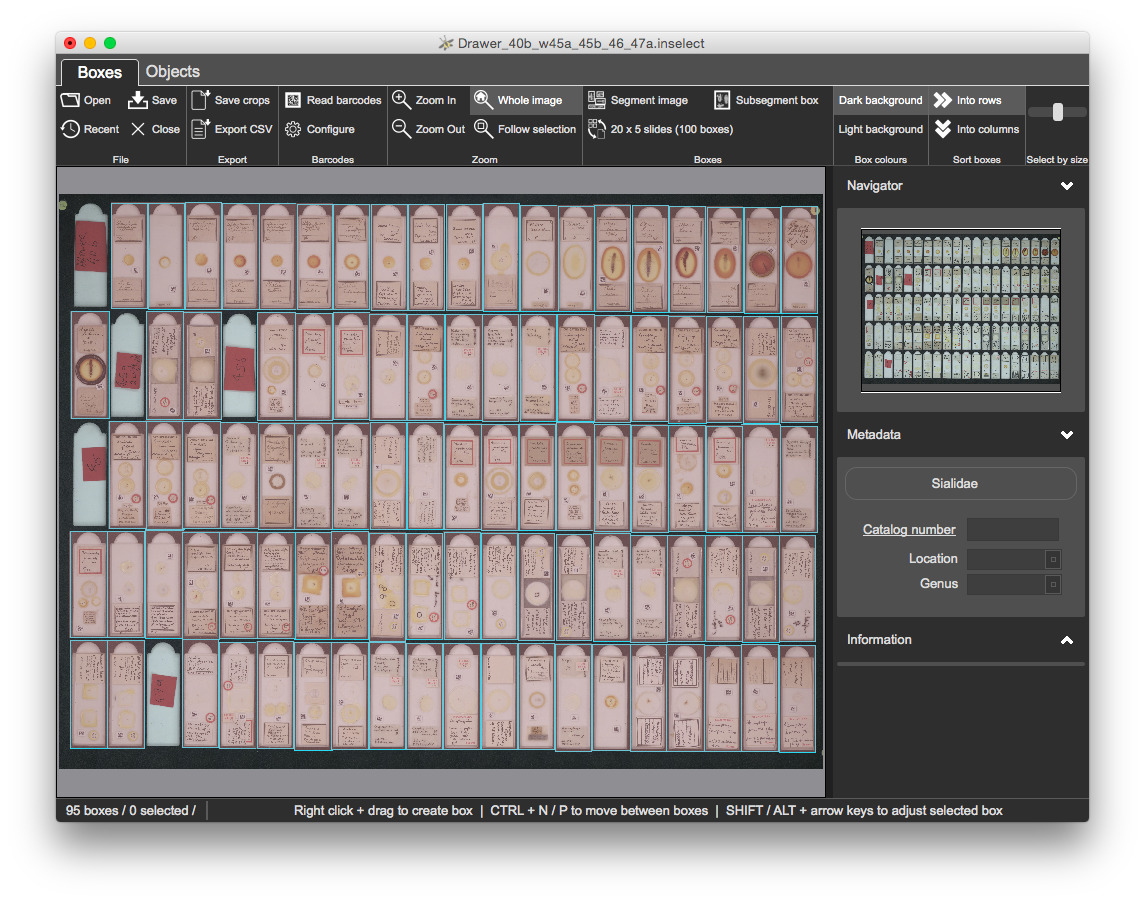
- Remove the boxes around the stickers at the top left and top right
- Remove the boxes around the red markers
Once refined, we have 95 bounding boxes:
Metadata template
Open Templates/sialidae.inselect_template in your text editor
-
The
catalogNumberfield containsRegex parser: '^[0-9]{9}$' -
This is a regular expression that specifies the field should contain exactly nine digits with no letters or punctuation
- If you do not know what a regular expression is, do not worry
Setup barcode reading
Select 'Configure' from the 'Barcodes' section of the toolbar:
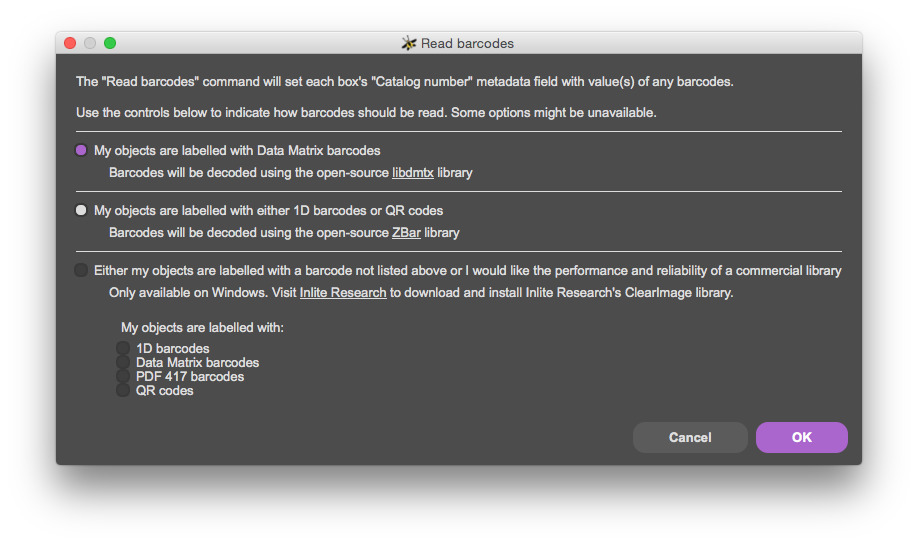
- Inselect comes with two open source options
- The Commercial Inlite ClearImage is faster and is more reliable at reading barcodes
- Windows only
- Costly but you can run it for a short time with an evaluation license
- If you are on Windows
- Open https://www.inliteresearch.com/barcode-recognition-sdk.php
- Click 'Download ClearImage SDK' and install
- Start the 'Inlite control centre' program - this will give you an evaluation license
Read barcodes
Read barcodes with F7.
- Takes a few minutes to complete
- We are asking quite a lot of the barcode reader - the barcodes make up about 1% of the area of each crop
- Values of barcodes are always put into
catalogNumberfield
Other metadata
You will select the relevant groups of slides and set their values of location and genus.
Reminders
- You can select bounding boxes with left-click and drag
- You can add / remove individual boxes to / from the selection by holding down
CTRLand left-clicking
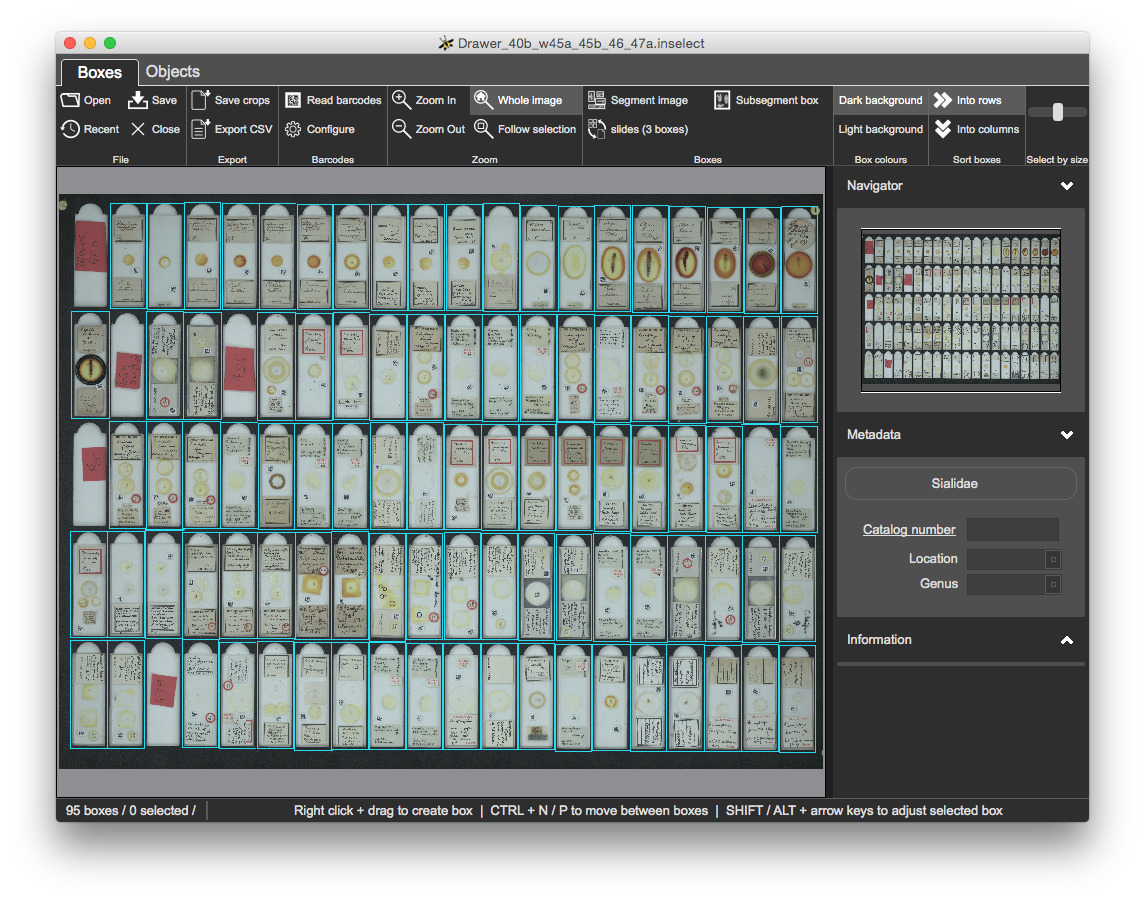
Once completed, all metadata should be valid with all boxes clear:
Sorting boxes
You can sort boxes either by rows or columns.
- Press
CTRL + Na few times and see how selected box changes - Now click 'Into columns' in the 'Sort boxes' section of the toolbar
- Press
CTRL + Na few times again
The selected sort option is applied when you segment an image.
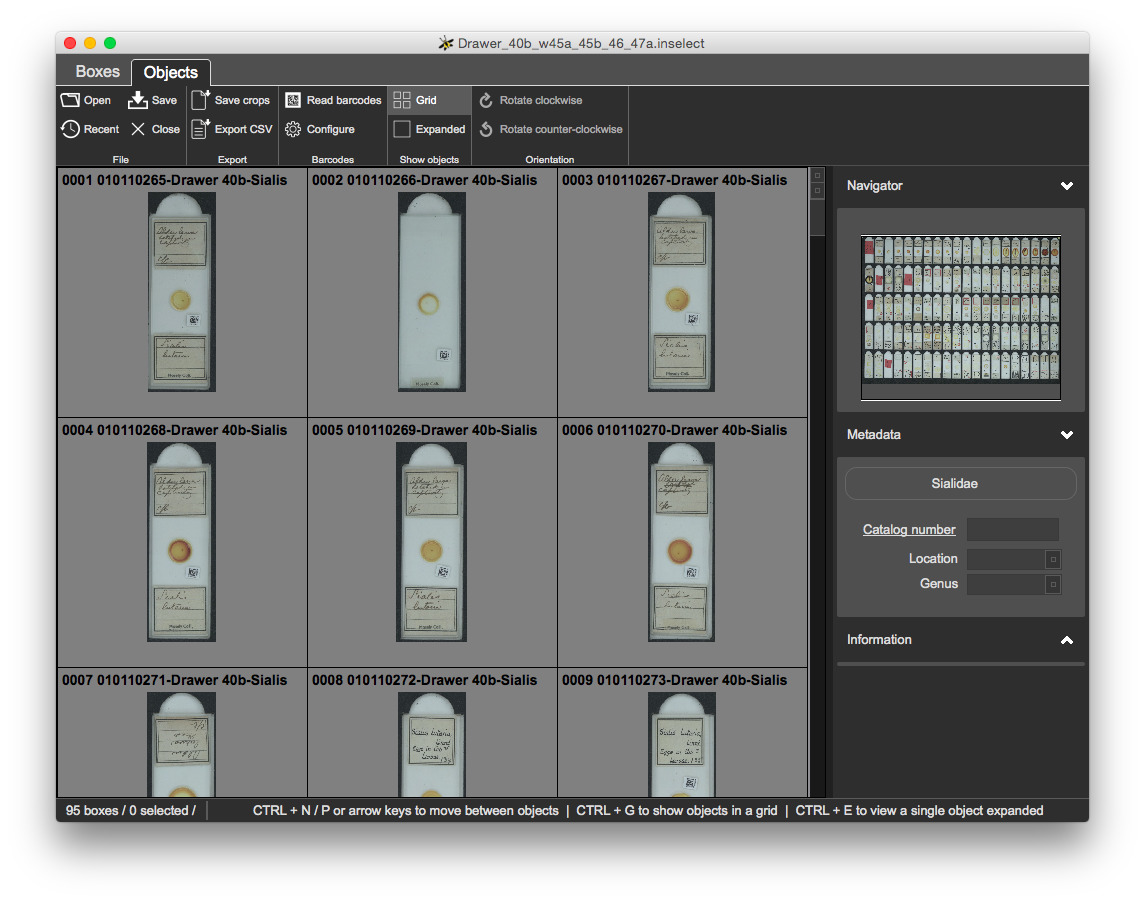
Objects view
Switch to the Objects view.
Some relevant shortcuts
CTRL + 1/CTRL + B- selects the Boxes viewCTRL + 2/CTRL + J- selects the Objects view- Can switch between views using
CTRL + PgUp/CTRL + PgDownon WindowsCMD + [/CMD + ]on Mac
This view shows crops on a grid with a square for each bounding box, along with each box's number and object label:
-
You can expand a single box
- press
Enter - double click
CTRL + E
- press
-
Move forwards and backwards through boxes
- up and down arrows
CTRL + NandCTRL + P- Next / Previous
-
You can go back to the grid
- Press
Enter - Double click
CTRL + G
- Press
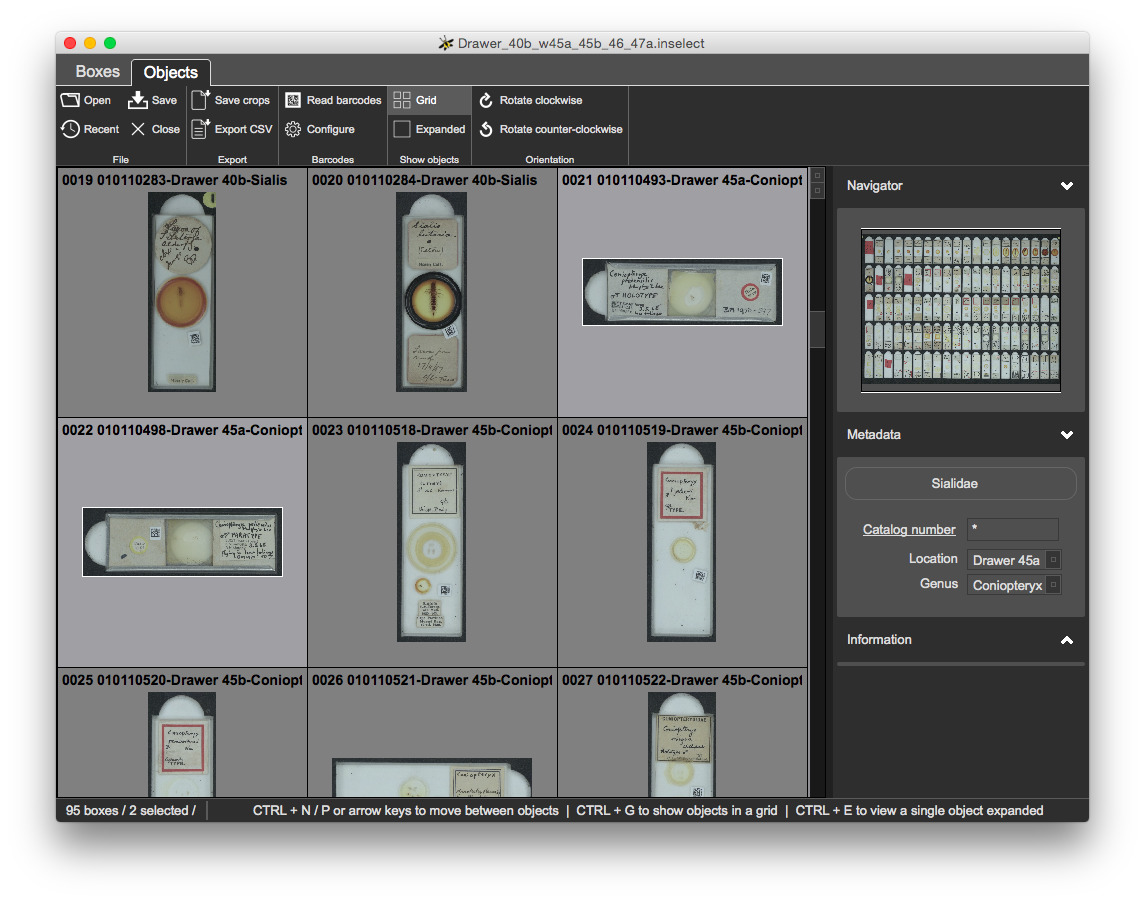
Selection
- You can select icons with left-click and drag of the mouse
- You can select icon using
SHIFT +arrow keys - As you might expect
CTRL + AandCTRL + D- the standard shortcuts for Select all and Select none - also work here - Just as before, the metadata fields reflect the selection
Rotation
You will rotate each crop so that labels are in the correct orientation.
CTRL + Rto rotate rightCTRL + Lto rotate left- Rotation is applied to the current selection, so you can block-select and rotate
- Very uuseful for reading labels
- Rotation is applied to crops so when they are saved
Export crops
Click 'Save crops' and open the directory containing the crops.
- The format of the filenames is defined from metadata template
- Crops are saved to
TIFFfiles, as specified in the metadata template - Crops are saved with the rotation the you specified